
Vibration at speed is one of those problems that starts as an annoyance and ends as a DNF if you leave it alone long enough. It shows up as a buzz through the seat, a shimmy in the steering wheel, or a general feeling that the kart is working harder than it should. Most drivers assume it is the track surface and push on. Sometimes that is right. More often something mechanical is developing that will get worse before it gets better.
The good news is that kart vibration is almost always diagnosable in the paddock if you know where to look. Working through a logical sequence is faster than guessing, and far faster than spending a race weekend chasing a chassis setup that has nothing to do with the actual issue. Start here, work through the steps in order, and you will isolate the source quickly.
Start here every time. A bent kart axle is the single most common source of vibration in competitive karting, and it is the first thing to check after any contact regardless of how minor the hit felt. The axle spins at high RPM and even a very slight bend amplifies quickly into significant vibration at racing speed. A hit that felt like nothing on track can introduce enough of a bend to cause a large amount of vibration.
What makes axle bends particularly easy to miss is that they do not always happen in an obvious way. A hard barrier hit is immediately clear. But an axle can also take on a gradual bend from repeated low speed contact with other karts, from being dropped at the wrong angle off a stand, or from clipping a kerb at the wrong moment.
It is also worth understanding that a bent axle does not always change how the kart looks at rest. A bend of just a millimeter or two is invisible when the kart is stationary but generates noticeable vibration when the axle is spinning at speed. The hand-spin test described below is far more reliable than a visual inspection for catching subtle bends.
While you have the kart on the stand, check axle keys, set screws and lock collars at the same time. A key that has walked out of its keyway, some lost bearing set screws or a lock collar that has migrated along the axle can shift the sprocket or hub out of position and create an imbalance that generates vibration even when the axle itself is perfectly straight. These are easy to miss on a quick visual scan but immediately obvious when you look closely at each piece of hardware along the axle.
What to watch for: Spin the rear axle slowly by hand and sight along it from behind the kart. Watch for any deviation from a true straight rotation. Run your hand lightly along the axle as it turns and feel for any movement away from center. Check that all axle keys are fully seated in their keyways and that every lock collar is in its correct position and tight.
Track Tip: If you find a bend that you can not straighten yourself, Comet offers a professional axle straightening service. Ship it in or drop it off and they will have it back quickly. A properly straightened axle is straighter and more reliable than a field repair.
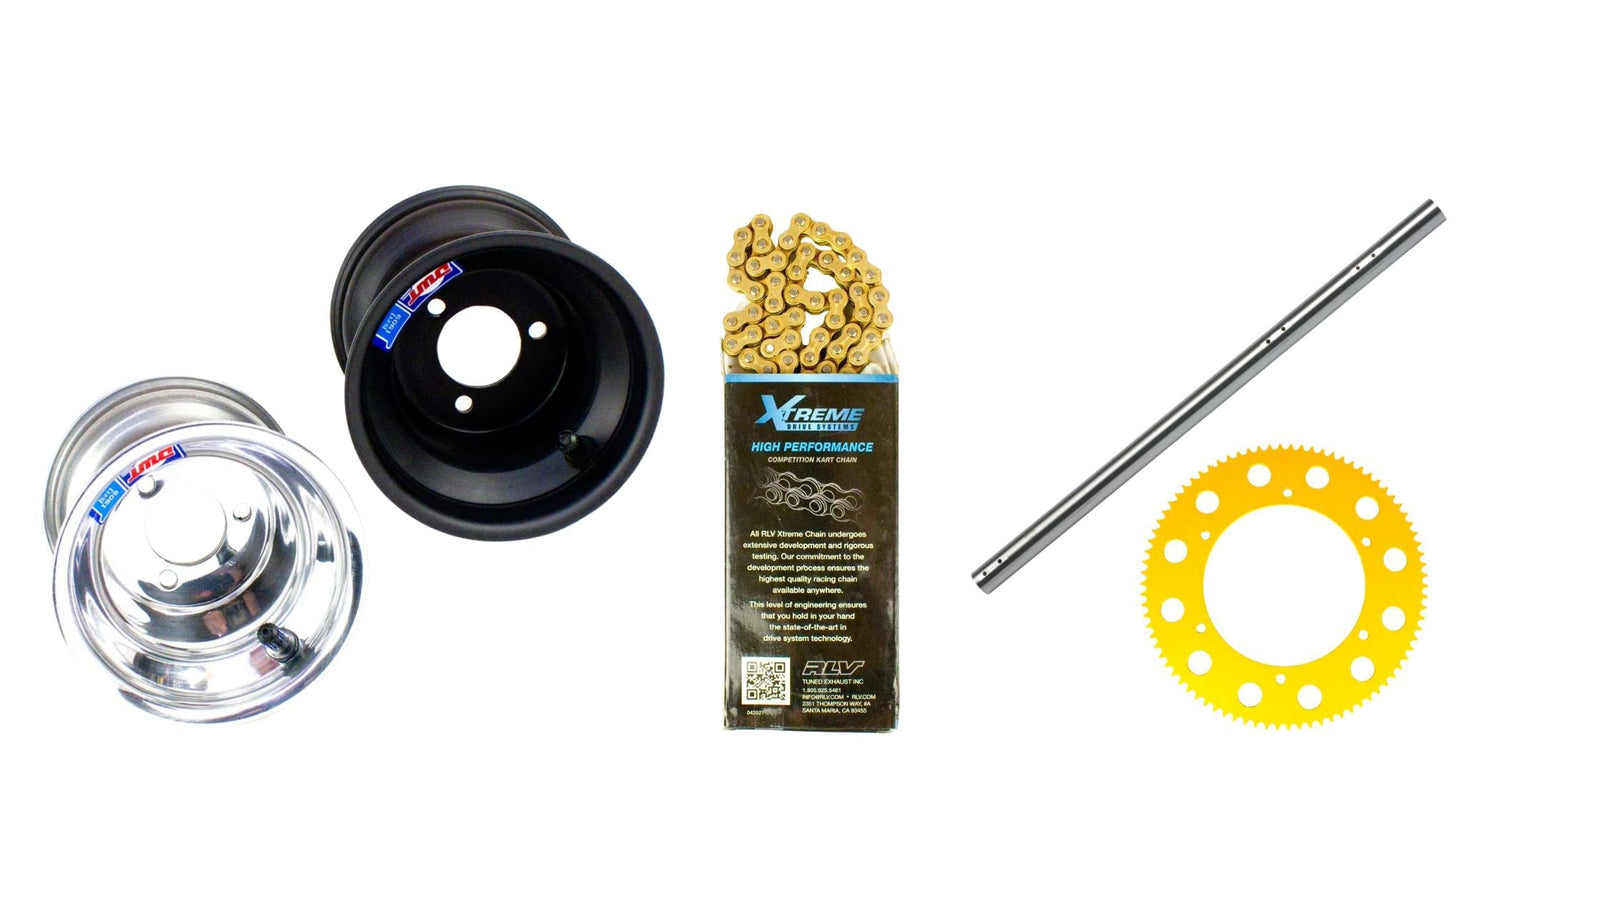
PKT 40mm x 1000mm Karting Rear Axle
View ProductIf the vibration has a rhythmic character that speeds up and slows down with the kart rather than with engine RPM, focus on the wheels and tires next. Vibration tied to road speed points to a rotating mass issue, and wheels and tires are the most likely source.
Wheel condition gets overlooked because wheels do not wear the way consumable parts do. They take impacts, get dropped, and go through repeated tire mounting and dismounting cycles. A cracked or out of round bead seat will not hold a tire evenly and creates an imbalance that generates vibration at speed. A wheel that took a hard hit may look completely intact but carry a subtle distortion that only shows up when the kart is moving. Run a finger around the inside of the bead seat area of any wheel that has been through a significant impact. Cracks there are not always visible from the outside and a cracked wheel that still holds air is a safety risk that should be replaced.
Check tire seating while you are there. A tire not seated evenly during mounting runs slightly off center and produces a rhythmic vibration that gets worse as pressure builds with heat. The bead seating line should be at a consistent height above the rim edge all the way around both sides. Check wheel nuts for tightness as well as the wheel being flush mounted against the wheel hub face. A loose nut allows the wheel to move against the hub and translates directly into vibration.
You can easily check the front tires for balance on the kart as well. With the front tire at rest, rotate the tire 90 degrees and let go of it. If the assembly is balanced it will not move or will only move a small amount. A tire assembly that is out of balance will quickly rotate the heavy side down. Once the tire is at rest again, you know that the heavy part of the tire assembly is at the bottom. You can apply stick on wheel weight to the opposite side (the top), rotate the assembly 90 degrees again and repeat the process. Once a tire is properly balanced the tire should not rotate on its own, no matter the position of the tire assembly.
What to watch for: Inspect each wheel for cracks or distortion around the bead seat. Check the tire bead seating line all the way around both sides of the rim. Check front tire balance. If balanced already, look for any wheel weights that have shifted or come loose. Check all wheel nuts for tightness before going back on track.
Browse wheels and wheel hardware.
Vibration that increases with engine RPM rather than road speed points to the drivetrain. A healthy chain and sprocket transfers power smoothly. When either is worn or damaged the load becomes uneven and the driver feels it as a pulsing buzz or grinding sensation that changes with throttle input.
A bent rear sprocket creates an uneven load on the chain with every revolution. This produces a pulsing vibration through the chassis that is distinct from the steady hum of a bearing issue or the rhythmic beat of a wheel problem. Sprocket warping can happen from a hard hit or from overtightening mounting hardware, and a sprocket that is even slightly out of alignment will show up clearly when you rotate the axle and watch from behind.
Chain stretch compounds the problem. A worn chain has inconsistent tension along its length and as it engages and disengages with the sprocket teeth, the load variation adds to the vibration. Check the sprocket carrier bolts at the same time. Loose carrier bolts are one of the most commonly missed checks in drivetrain diagnosis and allow the sprocket to shift on the hub in a way that affects the chain load immediately. When you do replace worn drivetrain components, replace the chain and sprocket together. A new chain on a worn sprocket wears itself out quickly and vice versa. Always check your front driver on the clutch as well for wear.
What to watch for: Rotate the rear axle slowly and watch the sprocket from behind for any wobble or runout. Pull the chain away from the sprocket at the midpoint of the lower run and check for stretch. Inspect all sprocket carrier bolts for tightness and check chain lubrication condition.
Browse chains and master links.
#219 Gold Rear Sprocket, One Piece
View ProductIf you have worked through the first three steps without finding the source, check the chassis bearings. Bearing wear is gradual and easy to adapt to without noticing, which is why it tends to get missed. A bearing running rough or dry adds vibration that increases steadily with speed. By the time it is obvious it has usually been a problem for a while.
Spin the rear axle by hand and listen. A healthy bearing is nearly silent. Any roughness or grinding in the rotation is enough to warrant replacement. Check bearing cassettes at the same time. A cassette that has loosened in the chassis tube or cracked from impact or wear allows the bearing to shift under load, which generates vibration and also affects rear axle geometry. Replace bearings in pairs across the axle rather than only replacing the one that has failed.
If you race in a location with a lot of sand, bearings will have to be replaced more often.
What to watch for: Spin the axle and listen for roughness or grinding. Feel along the axle for any looseness against the bearing carrier. Check that bearing cassettes are fully seated and secure in the chassis.
40mm/50mm Comet Aluminum Bearing Cassette, Three Hole
View ProductA loose motor mount produces a whole-kart buzz that is different from any of the sources above. Instead of a rhythmic beat or a pulsing vibration tied to RPM, a loose mount feels like a sustained high-frequency hum through the entire chassis. It develops gradually as mount bolts loosen from the constant vibration of engine operation, and it tends to get noticeably worse over the course of a race day.
Grab the engine with the kart on a stand and feel for any movement in the mount. There should be none at all. Check every bolt including the clamp hardware securing the mount to the chassis rail. While you are there, inspect the engine sprocket for tooth wear and confirm it is tight on the PTO shaft. A worn or loose engine sprocket creates an uneven chain load that adds its own vibration under throttle.
What to watch for: Any movement felt in the mount when you grab the engine. Loose mount bolts or clamp hardware. Engine sprocket teeth that show the same hooked or asymmetric wear you would look for on the rear sprocket. Chain alignment that has shifted from where it was set.
Track Tip: A loose motor mount caught in the paddock is a five minute fix. One discovered on track is a DNF. If your kart has a jam bolt for the motor mount make sure it is properly set to minimize the engine mount moving backwards on track.
Odenthal EZ Set 4 Cycle Engine Mount
View ProductFront end vibration has a distinct feel that separates it from everything above. It shows up as a shimmy directly through the steering wheel, is most noticeable at higher speeds in a straight line, and can be triggered by small surface irregularities. If the vibration lives in your hands rather than through the seat, this is where it is coming from.
Check the steering column bearing for radial play by grabbing the shaft and feeling for any movement. Check each front spindle by grabbing the wheel at the top and bottom and feeling for any movement in the kingpin. Inspect each tie rod end for looseness in the rod end. Any play felt at the stand is amplified at racing speed, so do not dismiss small amounts of movement as acceptable.
What to watch for: Play in the steering wheel before input reaches the front wheels. Radial play in the steering column bearing. Movement in the kingpin when you grab the wheel at top and bottom. Looseness in any tie rod end.
Browse steering components and tie rods and rod ends.
Work through this list in order with the kart on a stand. The sequence moves from most common cause to least common.
Kart vibration is a mechanical problem with a mechanical solution. Vibration after contact almost always points to the axle first. Rhythmic vibration tied to road speed points to wheels and tires. Pulsing vibration that changes with throttle input points to the sprocket and chain. A whole-chassis buzz with no obvious origin points to the motor mount. Shimmy felt primarily through the steering wheel points to the front end.
None of these checks require specialized equipment beyond what you already have at the track. All of them can be done at the kart stand between sessions. The drivers and mechanics who catch these issues in the paddock are the ones who finish races and run consistent lap times.
Find everything you need to address the problem at cometkartsales.com.
 2650 West Main Street Greenfield, IN 46140
 317-462-3413